Do you ever come across a piece of old clothing that you wish you could wear but it has an old company logo embroidered into the fabric or an emblem of something you wish was not there? You’ve come to the right place! Removing an embroidered logo may seem like a daunting task, but with a few basic tools and these four simple steps, you can make your old clothes wearable again!
Your 4-Step Guide To Removing an Embroidery Item
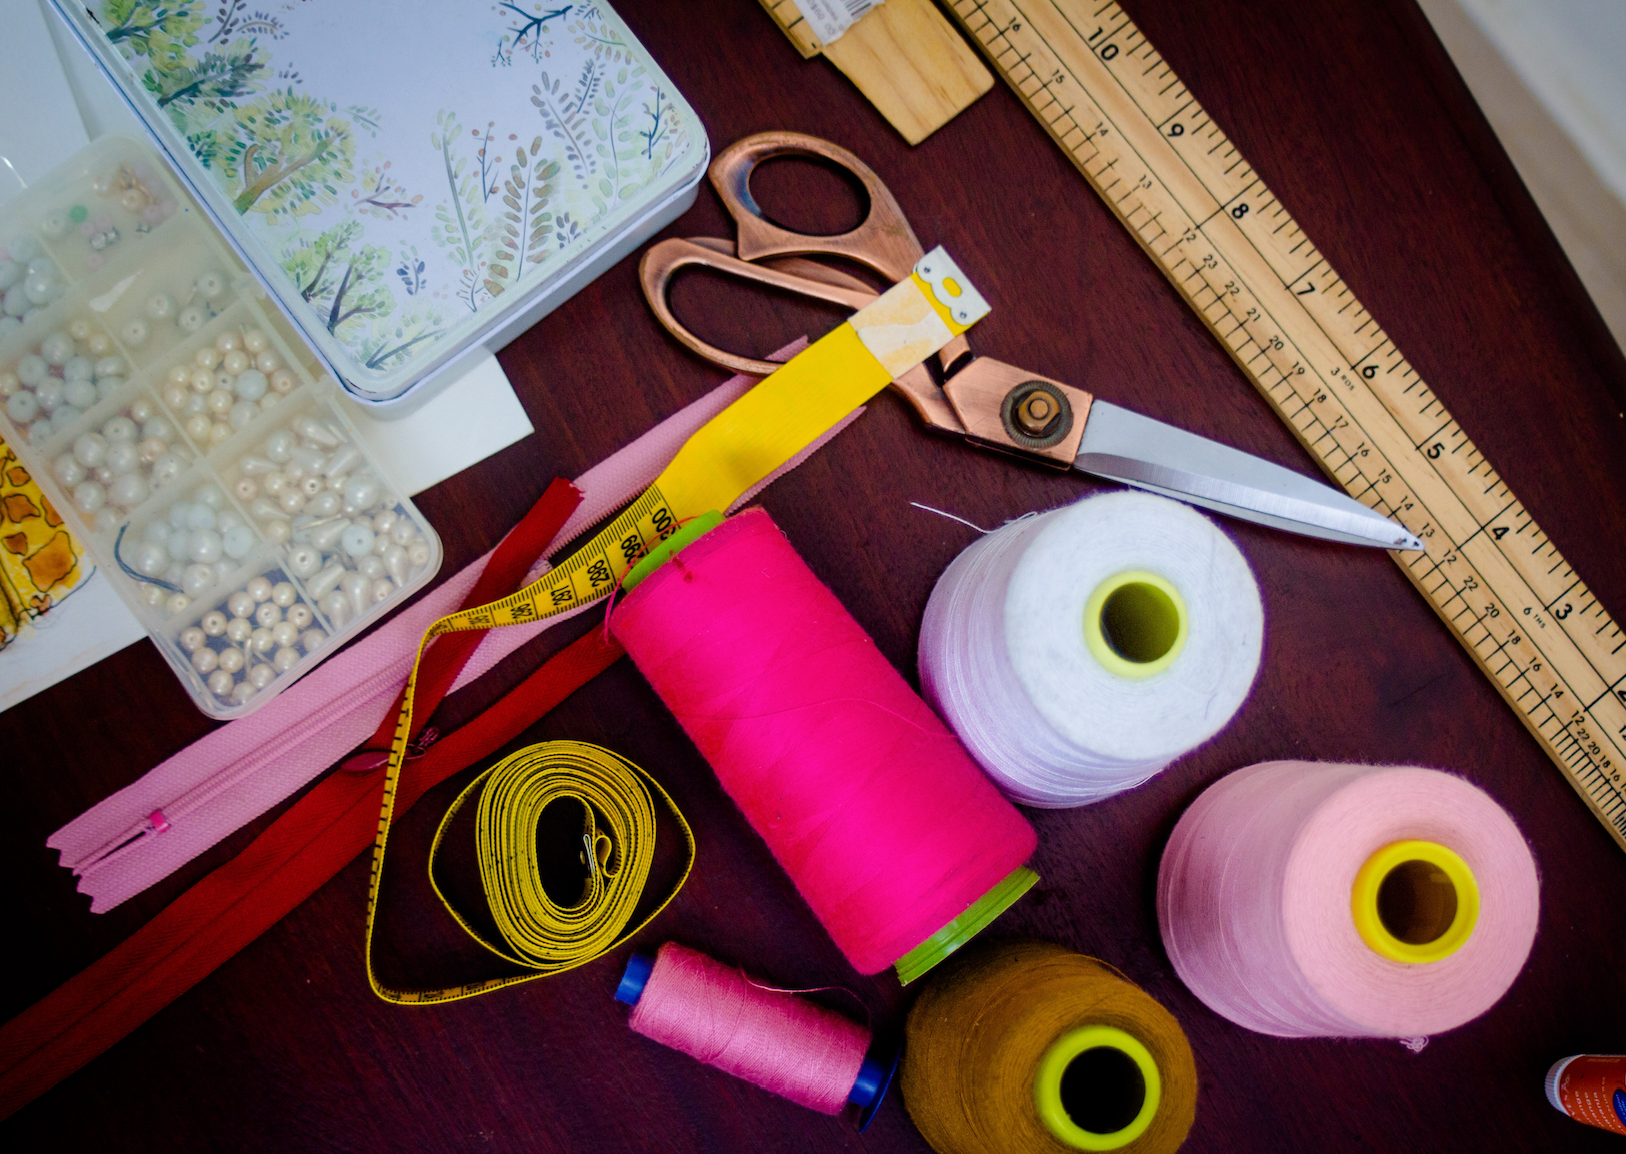
Before you begin, find the item of clothing you want to work with, and gather your tools. These include:
- A Seam ripper: Consisting of a head, shaft, and head, a seam ripper is a tool used to cut and remove stitches from fabrics. You can get these cheap for as low as $5!
- Stitch eraser (or a hair trimmer): A stitch eraser is an easy-to-use electronic thread removal tool. Stitch erasers can range from $80-$170, so if you are not willing to make this investment, an electric hair trimmer works as well.
- Tweezers or fabric scissors: Basic at-home eyebrow tweezers, and any small pair of scissors will suffice. These tools will be used to remove any excess threads that are left behind after the logo is separated from the garment.
- Magnifying glass: Any sort of magnifying glass will do here! This is only a necessary tool if you want to get up close and personal with your fabric to ensure that there are no threads left behind.
- Lint roller, clothing brush, or tape: Only one of these tools/supplies is necessary. Again, these tools pick up any leftover threads that your seam ripper, stitch eraser, or tweezers missed.
Step 1: Turn Your Garment Inside Out
No matter the fabric of your clothing or the type of embroidery, the first step of removing an embroidery logo is to turn the fabric inside out. When you view an embroidery emblem from the back, you can see the details of the stitching, giving you a better idea of where to begin, as well as making it easier to remove the stitching throughout the entire process.
Step 2: Grab a Seam Ripper
A seam ripper is the easiest and cheapest way to remove an embroidery logo. This tool will easily cut and remove the seams from the stitching. Once you have flipped your garment inside out, use the sharp end of the tool to wiggle underneath the embroidery. Lifting aligned with the stitching gently will rip the threads. What is nice about a seam ripper is that the rubber tip will help clean up some of those loose threads as well. During this process, be cautious to not cut too many threads at one time to ensure that you avoid the fabric itself.
Step 3: Use a Stitch Eraser (Or Make Do with A Hair Trimmer)
Differentiating itself from a seam ripper, a stitch eraser is a much more efficient and quick way to remove embroidery from a fabric. Stitch erases are “used to remove machine embroidery stitches without damaging the fabric at all. It actually gets under the stitches, grabs the thread, and clip them.” When choosing to use a stitch eraser, it is important to keep in mind that these are best for higher-quality, machine made embroidery logos rather than hand-made logos that were done using a simple needle and thread. Once you are ready to begin, pull your fabric tight and work from the outside in. The eraser will cut the logo’s threads on its own, releasing them from your garment. Be sure to check underneath the eraser every few seconds to make sure that the tool is cutting what you want it to cut. As I mentioned earlier, if you do not have a stitch eraser, and do not want to buy one, a hair razor will do the trick.
Step 4: Remove Remaining Stitches and Threads
No matter the method you choose, there will most definitely be leftover stitches and threads that were left behind from your seam ripper or stitch eraser. Using tweezers or small scissors, remove these extra threads from the front of the garment, rather the back. I would recommend using a magnifying glass to make sure that you are removing even the toughest strands. Once all of the stitching is finally taken out of the fabric, use a lint roller, tape, or a clothes brush to get rid of anything that was left behind in the removal process. Check your garment from the front and the back to assure the final product is up to par!
Stay in the Know with Thread Logic
There you have it! Embroidery no longer needs to be seen as a permanent mark on clothing. We hope that these four simple steps inspire you to make your old clothes new. If you need more information or tips on all things embroidery, check out other articles from Thread Logic’s blog! Not only can Thread Logic be a solution to you, but we are a resource for all your fabric endeavors!